Not the Raspberry Pi Experiment as promised - But a Learning Experience! [Part 2]
This is a continuation of this first part:
Here is the link to the wiring diagram the I used for this project: https://learn.adafruit.com/esp8266-temperature-slash-humidity-webserver/wiring
Here is a link to the INO file source code for programming this board: http://bit.ly/DHTServer

Last night I started soldering this together and took some pictures along the way of my progress.
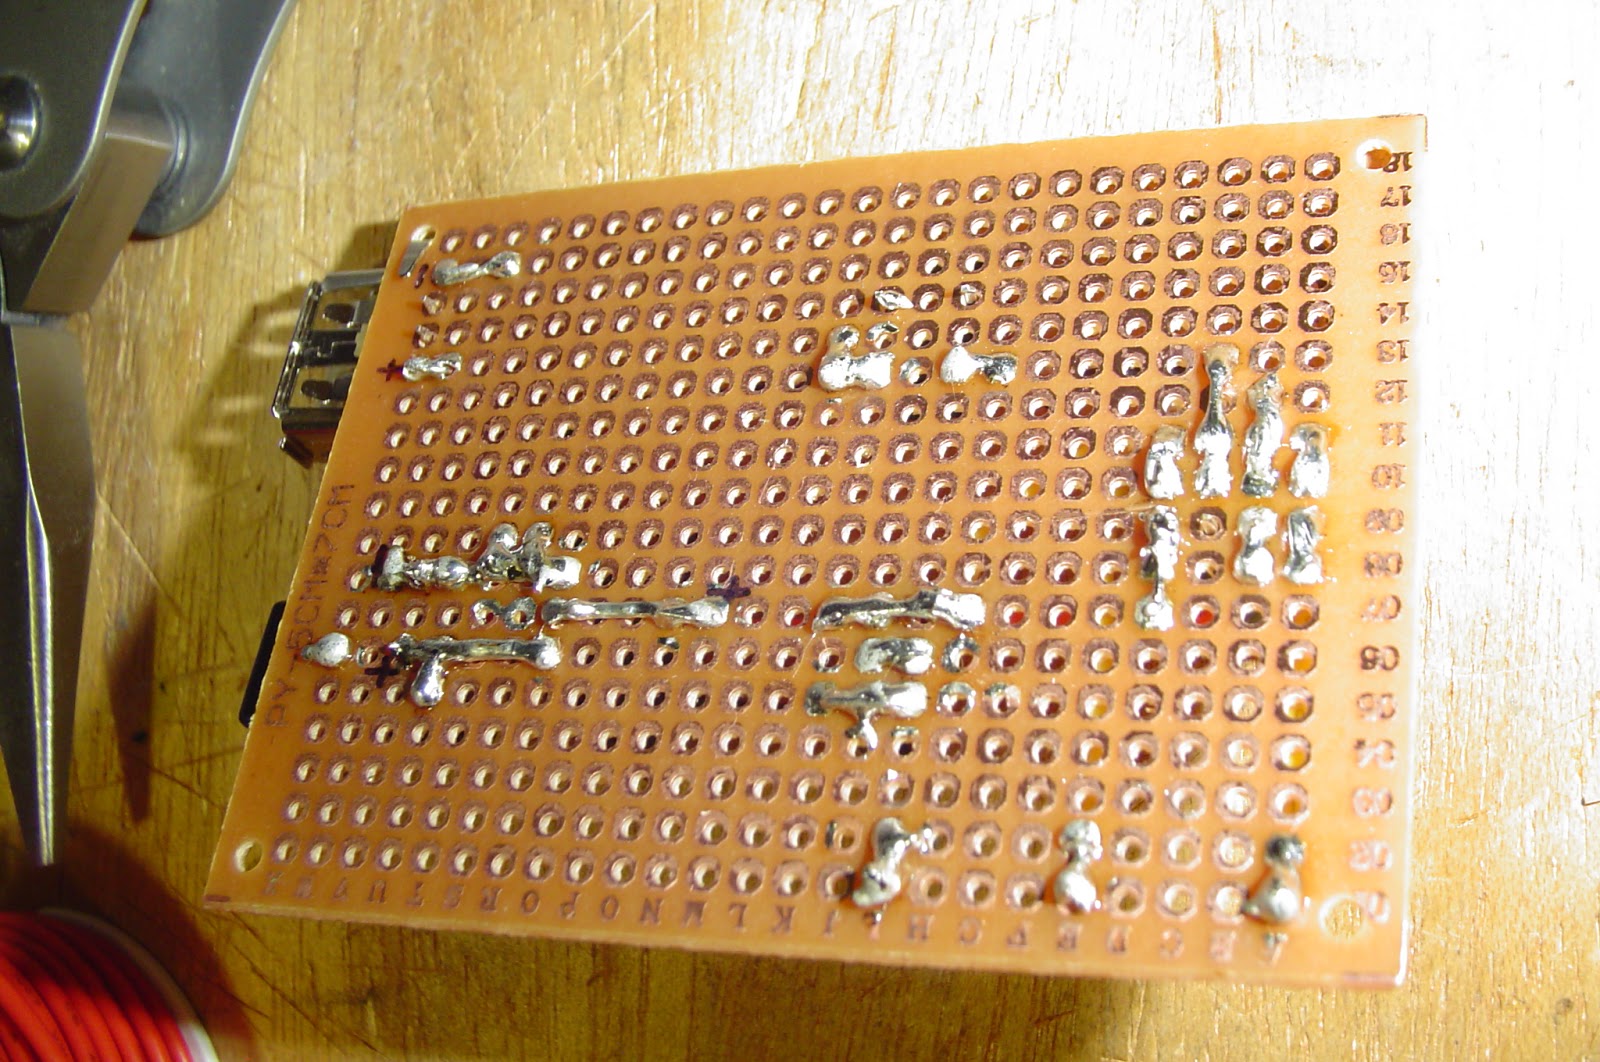
Here is the board as we saw it in the first part of this series, with an added USB port for power.

I added a USB port so I could power it from a little power pack that I have, using a USB A to USB A cable from a hard drive.

The solder side of the board isn't very pretty.

The button you see here is used to program the ESP8266. You power on the board with the button depressed and then let go of it, program it through the Arduino IDE and power cycle the board again.

Almost done now, just a couple more connections to make.

Here we have the completed board, the pins you see in the lower left are for programming the ESP8266.

After completing the board I tested the output voltage at several locations and they all seemed to run at about 3.25V, within acceptable tolerances.


Added the missing components and tested it, and It WORKS!

Cool! Getting more and more fun! :-)
ReplyDeleteSuper nice work!
ReplyDelete